Best Jailbreak For Apple Tv With Mac
Hack & Jailbreak Your Apple TV 1 Get your hands on an Apple TV 1 so you can hack and jailbreak it to install Kodi XBMC. The Apple TV 1 was discontinued by Apple in 2010 and is no longer available in retail stores. The good news is, there are tons of Apple TV’s on eBay with prices ranging from $50 – $100 depending on the condition and the hard drive size. The special thing about Apple’s first generation of Apple TV’s is that they have built-in hard drives that came in either a 40gb or 160gb capacity. This is especially important because it allows you to download tons of movies and television shows, from XBMC add-ons, onto your local drive for watching whenever you want without an internet connection.
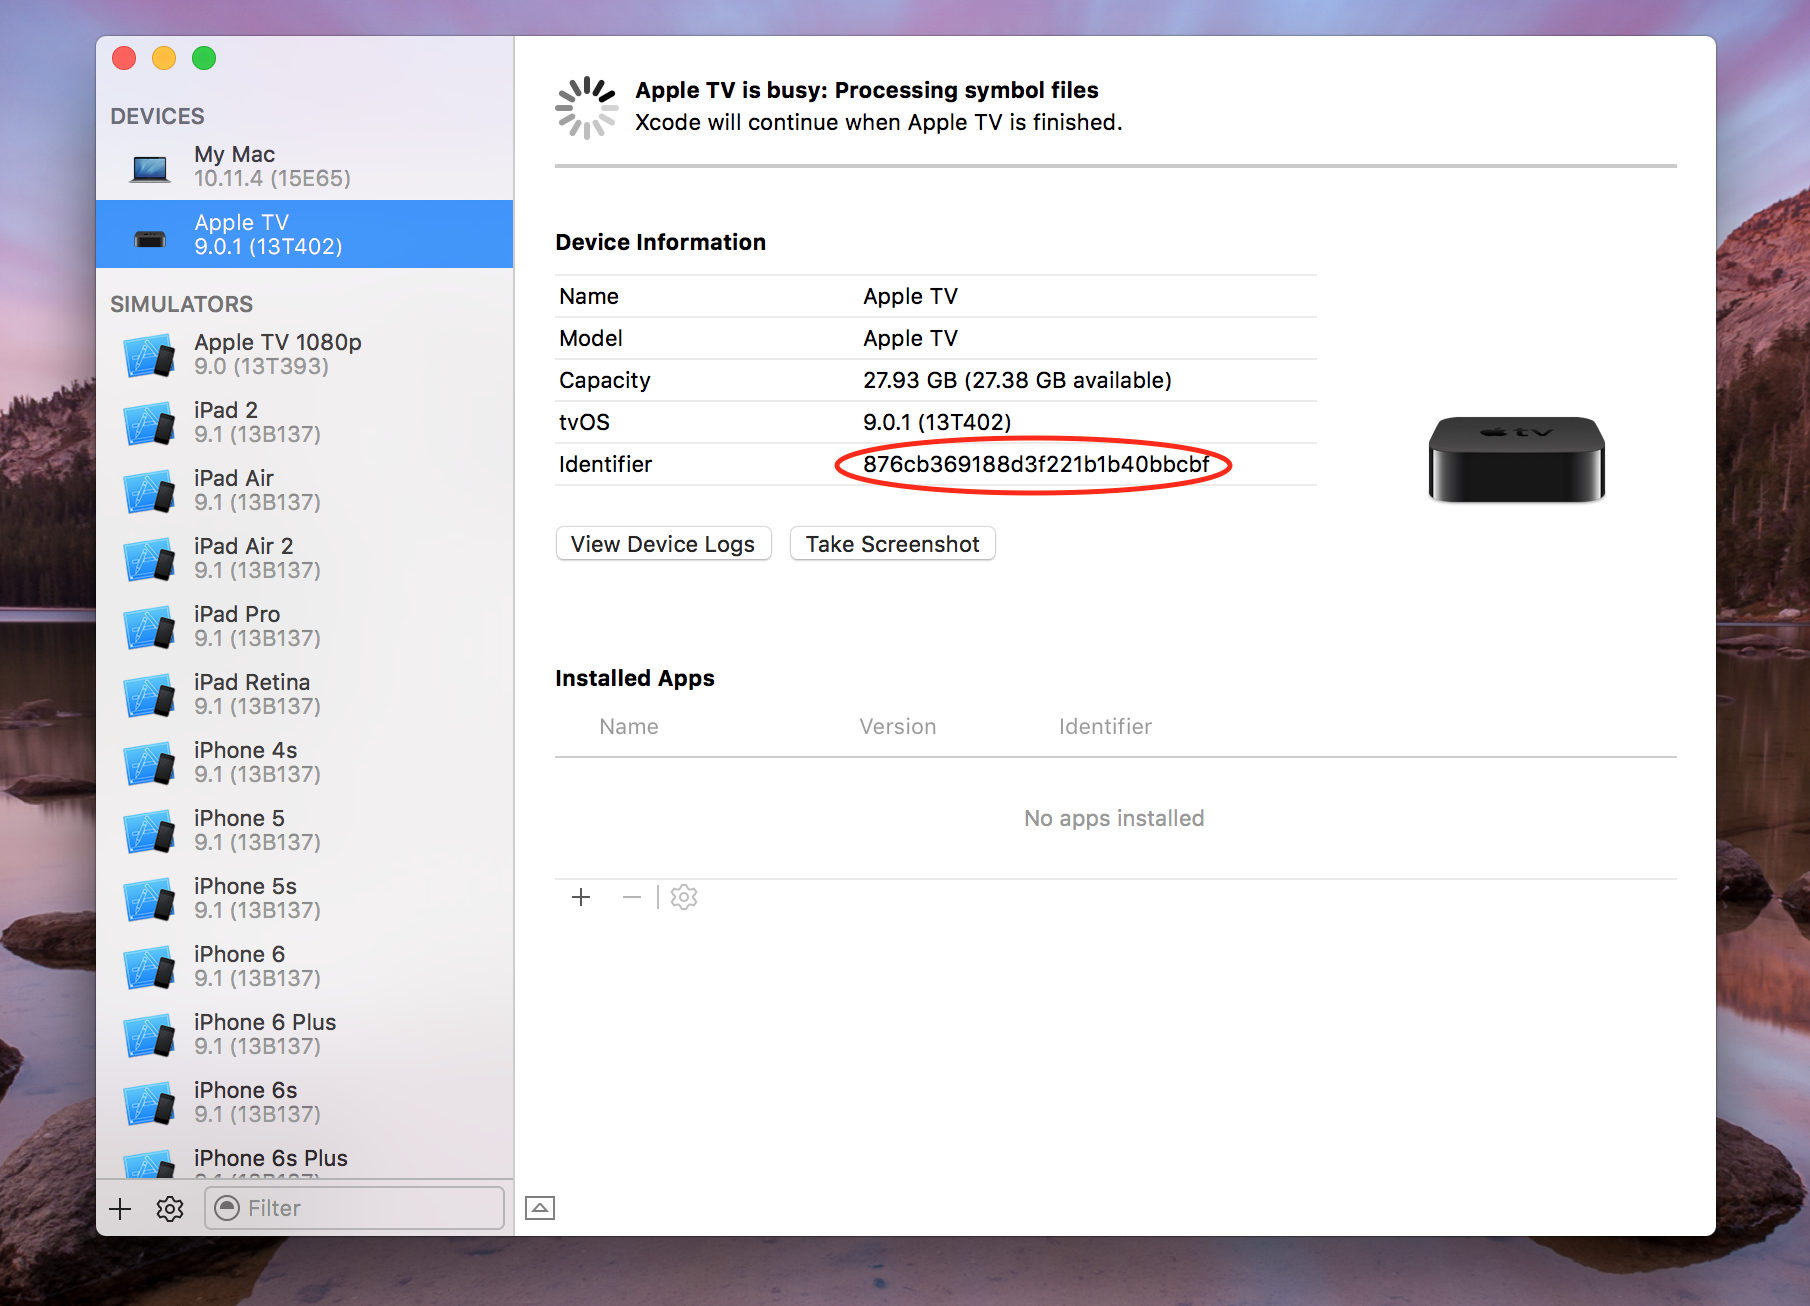
IJailbreak Jailbreak And iOS News. IJailbreak is an online resource for jailbreak and unlock iPhone, iPad, iPod Touch, Apple TV and iOS news. Seas0nPass is always available for both Mac OS X and Windows at the same time, so no usergroup is left in the dark. Seas0nPass is the best tool for Jailbreaking the Apple TV and hopefully this.
Apple’s later generation ATV’s don’t have these hard drives built into them which makes building a media library on them impossible. The other unique feature of the first generation of AppleTV’s is it’s ability to have a USB thumb drive plugged directly into it.
Jailbreaking the AppleTV 1 requires a thumb drive, but more than that, this gives you the ability to transfer files to and from your Apple TV’s hard drive through XBMC’s File Manager. Transferring music, photos, movies and television shows is extremely easy with the use of the USB drive. In addition to the USB port, AppleTV 1’s have both a HDMI and Component output for video display and both analog and digital optical audio outputs. The versatility and power of this device is largely based on its excellent hardware makeup. It’s extremely easy to modify this media player even more by adding a larger hard drive or replacing the video card with 1080p output (720p is the highest recommended output for ATV 1, though 1080p does work well with some codecs, especially.mp4). Jailbreaking Your Apple TV 1 and Install OpenELEC Step 1: Update your AppleTV 1 to the original OS 3.0.2 Step 2: Go into the OS settings and change the Audio & Video settings HDMI Output to RGB High this will prevent potential video issues later on. Step 3: Connect your Apple TV 1 to your network through a wired ethernet connection.
A wireless connection will not work since you’ll be replacing the software. You tube video of how to go back to previous version of quickbooks for mac 2016. You’ll be creating a USB key in the next steps that will download the full installer. This ensures you get the latest version of OpenELEC, and also keeps the USB key size small.
Step 4: Mac Users & PC Users Mac Users: Connect the USB key to your Mac and name it openelec, then open up your Terminal.app (/applications/utilities/terminal) and cut and paste the following commands to create the USB key: curl -O Now we will find the USB drive: diskutil list grep -v disk0 tail +2 In the output on your Terminal you’ll see your thumb drive. In the example below you can see /dev/disk1 is a 64GB USB named The HULK and formatted for DOS_FAT_32. Now we will unmount your USB drive diskutil unmountDisk /dev/disk1 Finally, we’ll use the code below to write the image file to your USB drive. You’ll need to enter the password for your mac’s user account when prompted to: gunzip -c install-hdd.img.gz sudo dd of=/dev/rdisk1 bs=1m It should take a couple of minutes for uncompressing and writing the image to the USB key. Once the USB key is finished, an error message saying the disk is unreadable will pop up. Disregard that message, close the window and pull out your USB key. You’re ready to install OpenELEC.
Step 5: Unplug the power to your AppleTV 1 and connect your new USB key to the USB port in the back. Now plug back in your Apple TV 1 and wait 10-15 seconds for the OpenELEC logo to appear on the screen. Shortly after the installer will start. The installer will start networking to lease an IP address from your router and download the latest OpenELEC software from the OpenELEC website.
Make sure you are connected to your router or modem with an ethernet cable or this will not work. Step 6: The installer will pause for 30 seconds, display some warning messages, and then continues to format the hard drive and install OpenELEC onto your Apple TV 1. Let the installer do it’s thing, it won’t need any user input to complete. When it’s done, a message will be show up stating it is safe to ignore the error messages that are shown on the screen once the system shuts down and automatically reboots into OpenELEC.
Step 7: Final Step! Remove the USB drive and power back on the Apple TV 1. It will boot to OpenELEC after 15-20 seconds, you’ll see the OpenELEC logo and then the screen will go dark.