How Do I Change Headers In Ms Word For Mac
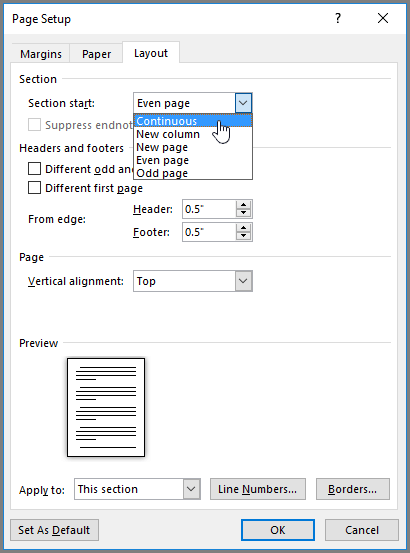
Note: When you change a header or footer, Word automatically changes the same header or footer throughout the whole document. To create a different header or footer for part of a document, divide the document into sections by Insert, delete, or change a section break.
Microsoft Word comes with several themes to customize the style of your document, several of which can be used to create a professional eBook layout. Sometimes you’ll want to make simple changes to the default styles. Here is how to change the line colors that appear with some themes’ Title style.
Change the Title Style In this example, I will be changing the Title text and lines to a red color using Microsoft Word 2013. The overall process will be similar to previous versions of Word, however the tabs and locations may be in slightly different locations for an earlier version. ( Hippies' Note: If you enjoy reading our articles, you'll love our newsletter. Receive updates directly to your inbox.
) While it is easy to change the color of the text (TITLE) by selecting the text and choosing a new text color, it can be difficult to change the line above and below if you are unfamiliar with Microsoft Word. First you need to realize these are not ‘underlines’ from the normal font attributes. These lines are borders. In order to change the color you need to ‘ right-click’ on the style name and choose ‘Modify’. Modify Style Now that the ‘Modify Style’ dialog box is open we can change the font color and border colors at the same time. Change the Text Color Click on the ‘blue’ color (yours may be a different color) and select a new text color. I’ve chosen ‘red’ in this example.
It’s important to notice that the borders are still the original blue color. Change the Border Color Now let’s change the border color to red so it will match. In the bottom left corner of the ‘Modify Style’ dialog box click the ‘Format’ button and select ‘Border’. First choose a new color (I made it red). Then click on the borders you wish to change. In the image below I’ve changed only the top border so you can see it compared to the ‘blue’ bottom border. (Another idea would be to remove the border on top or bottom for a completely new look.) After you’ve made your changes click ‘OK’. Microsoft access 2010 for mac.
You’ll now see the changes in the ‘Modify Style’ dialog box. Make sure it’s what you wanted and click ‘OK’. You’ve successfully modified the default ‘Title’ style!
What other Microsoft Word tutorials would you like to see? Let us know in the comments below.